Scheduling reports
This article explains how to create and manage scheduled reports in SaaS Alerts. Scheduled reports let you send predefined reports to selected recipients on a one‑time or recurring basis. This KB focuses on how scheduling works and where each option is configured—it does not describe the contents of individual reports.
Accessing scheduled reports
1. From the side navigation menu, click Reports.
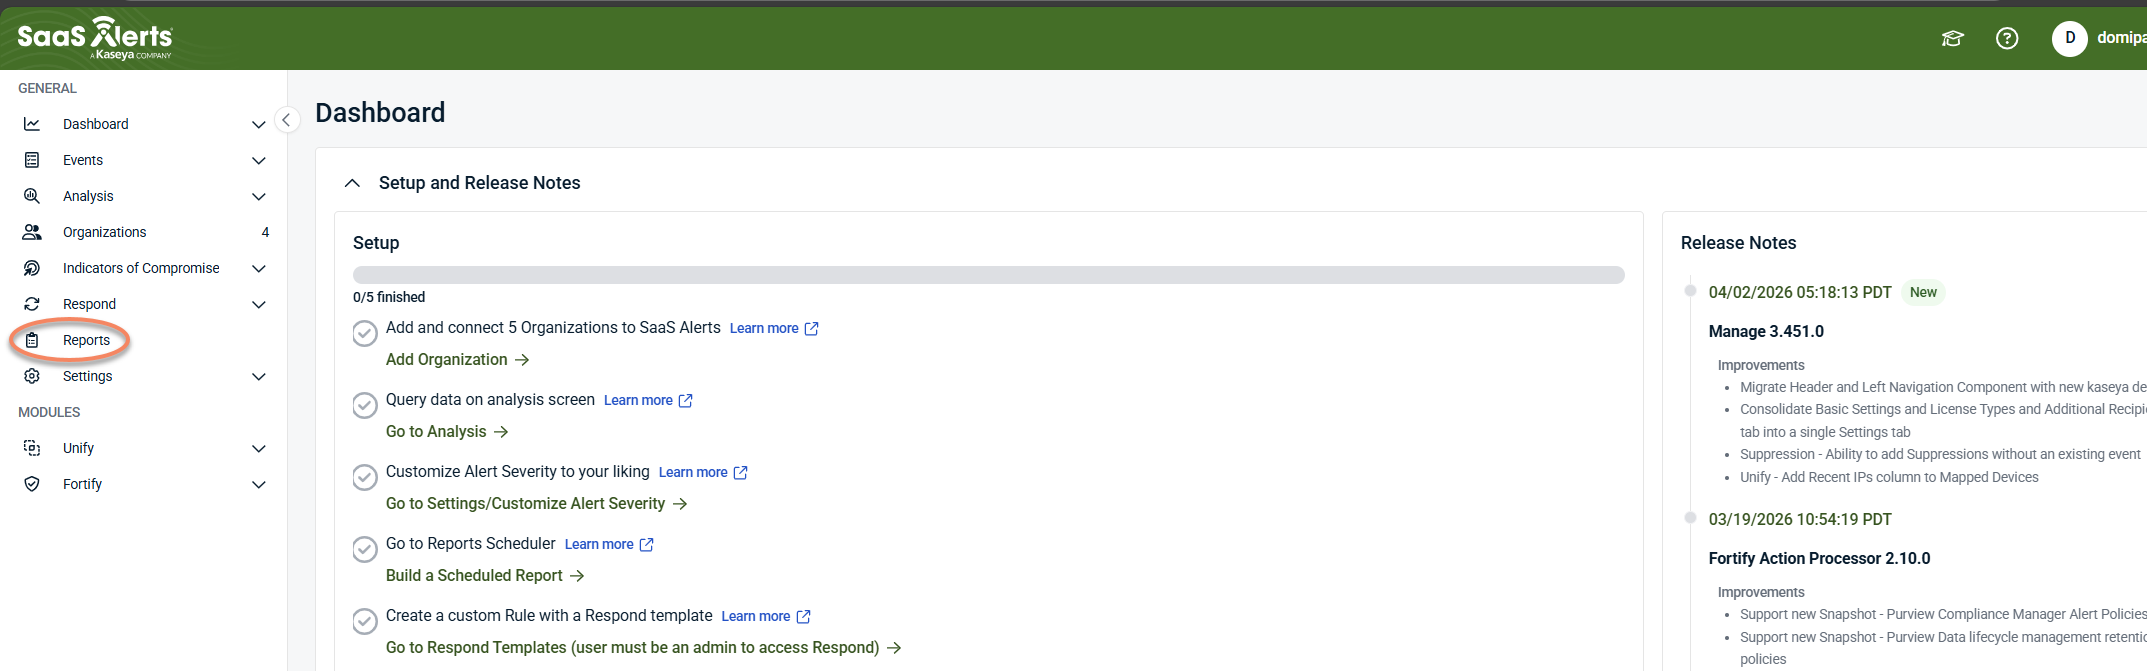
2. Select Scheduled Reports.
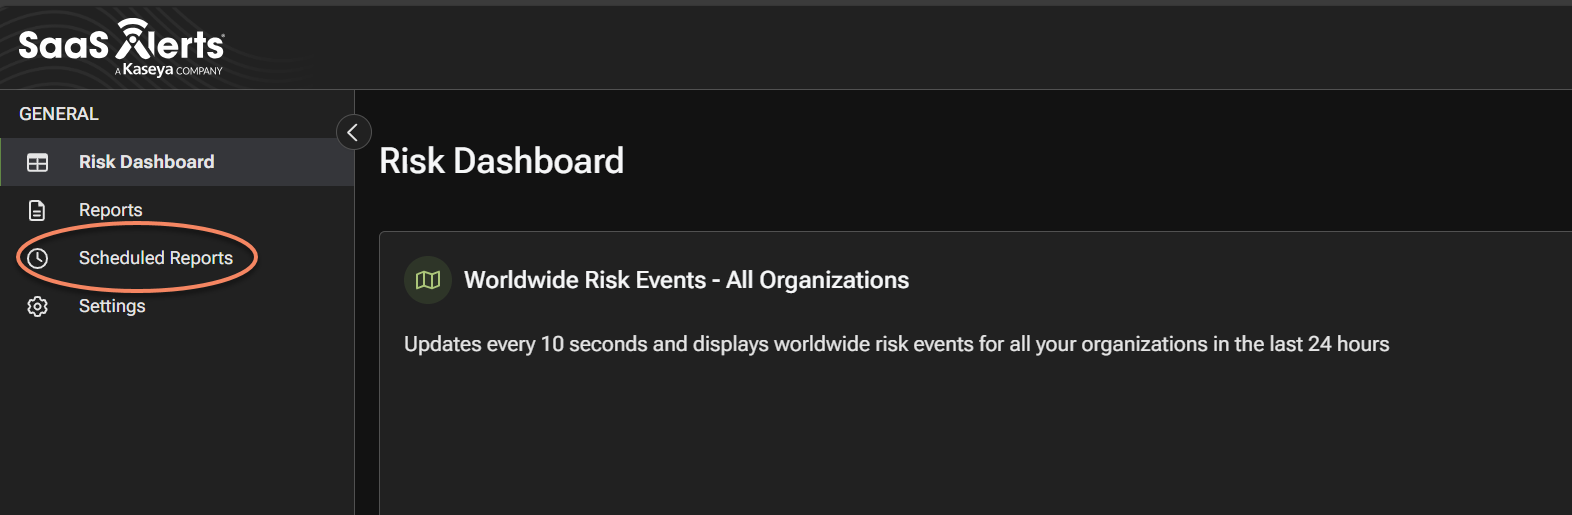
You are taken to the Scheduled Reports page, where existing schedules (if any) are listed and can be filtered by report, organization, schedule type, or frequency.
Creating a new scheduled report
1. On the Scheduled Reports page, select + New Schedule.

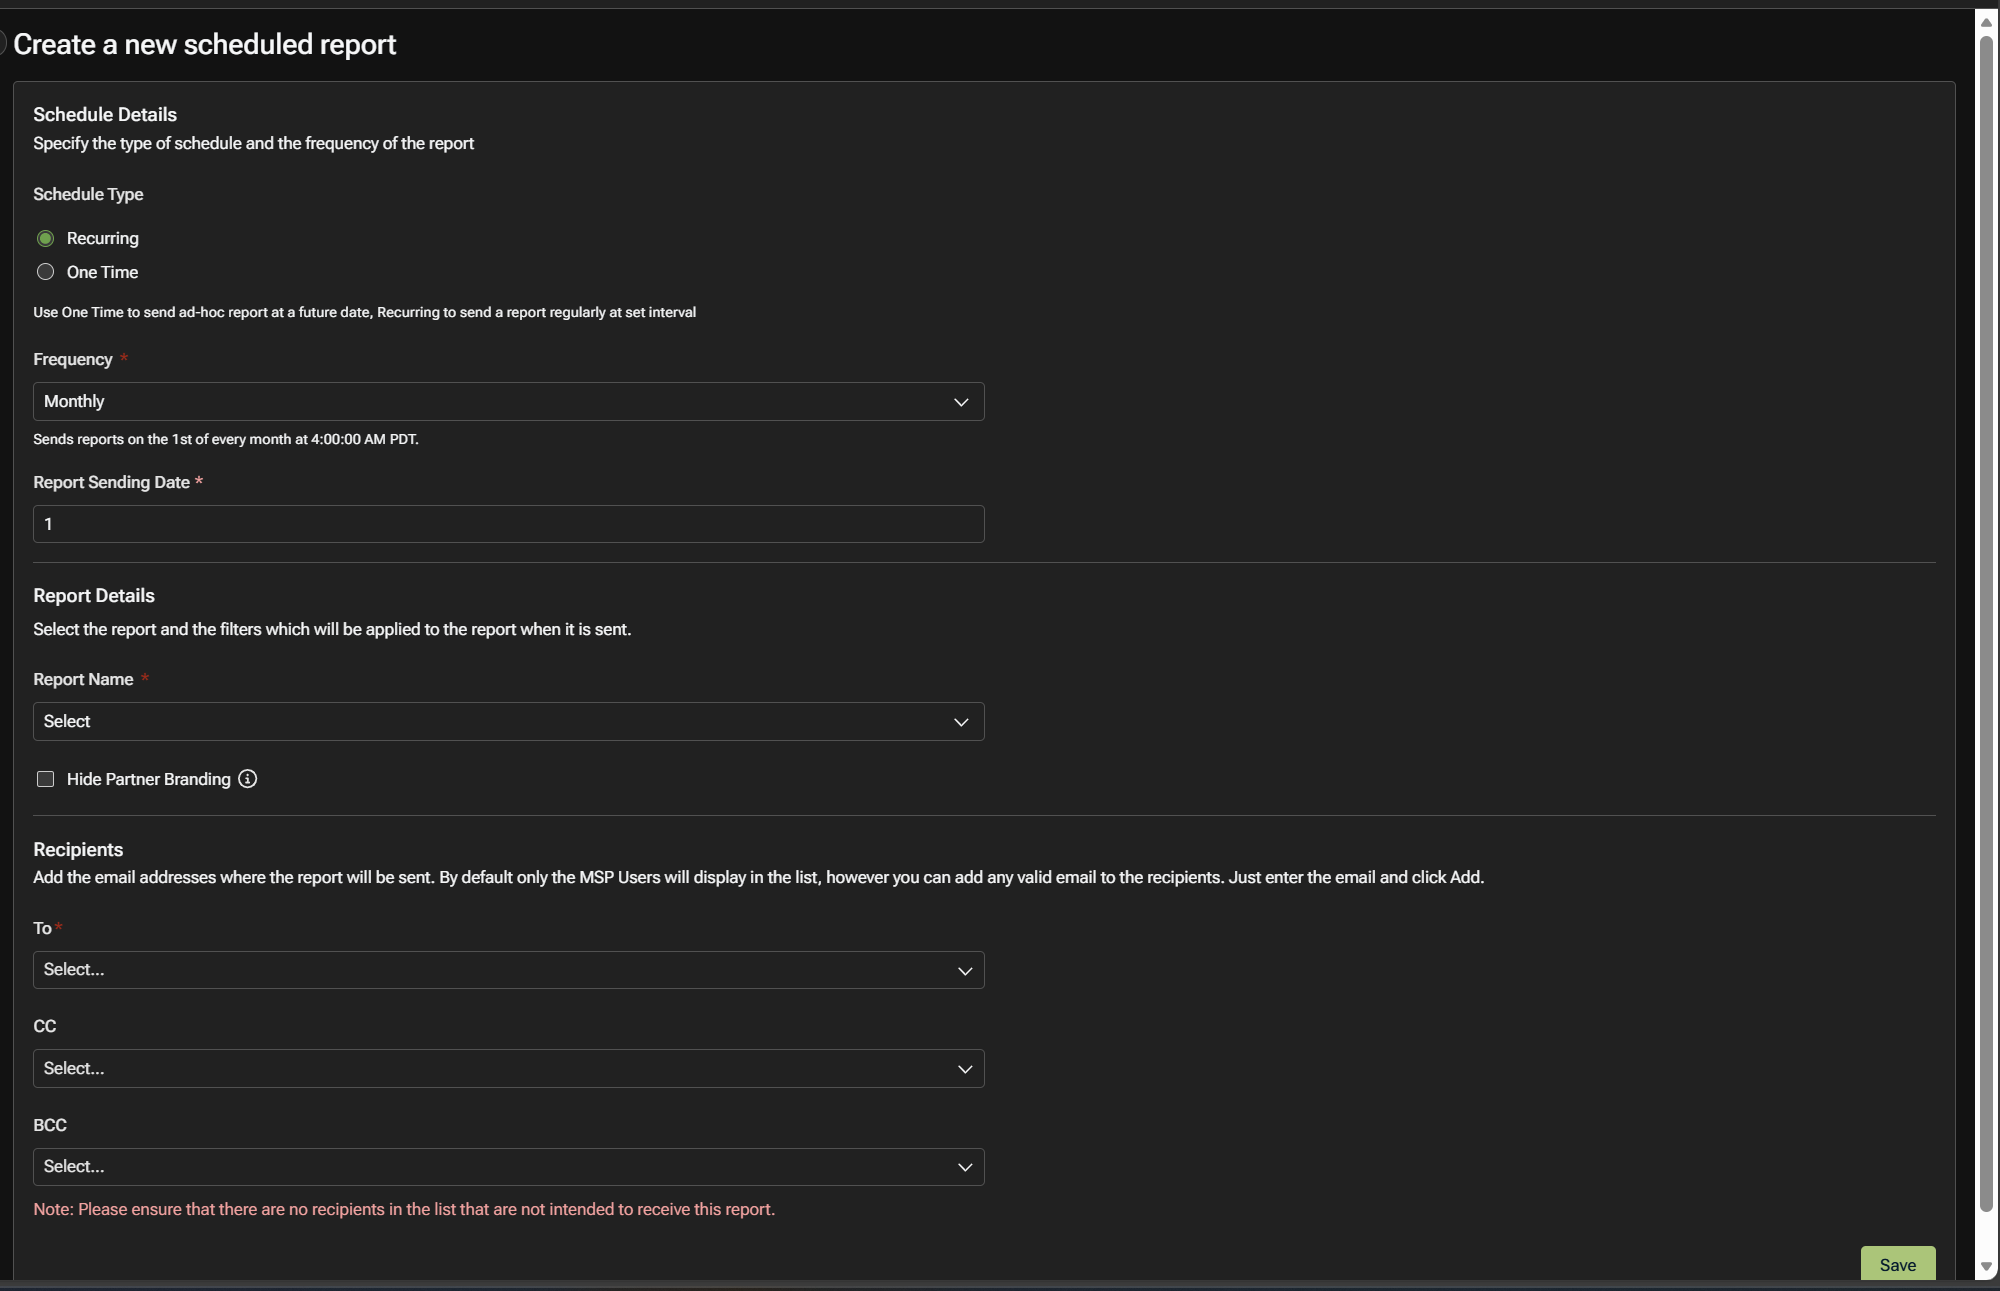
2. The Create a new scheduled report panel opens.
This panel is divided into three sections: Schedule details, Report details, and Recipients.
Schedule details
Use this section to define when the report is sent.
Schedule type
-
Recurring: Sends the report repeatedly based on the selected frequency
-
One time: Sends the report once on a future date
NOTE Choosing Recurring will send the report at the beginning of the preferred frequency at 12:00 AM UTC time zone.
EXAMPLE Scheduled weekly reports will be sent every Monday at 12:00 AM UTC
Frequency
Select how often the report is generated (for example, monthly). The available options depend on the selected schedule type.
Report sending date
For recurring schedules, this setting determines the day the report is sent within the selected frequency.
Report details
Use this section to define what is included in the scheduled delivery. Reports are listed in two categories, Organization Reports and MSP Only Reports.
Report name
Select the report to be sent. Only existing reports appear in the list.
Hide partner branding (optional)
Enable this option if you want to exclude partner branding from the generated report.
Recipients
Use this section to define who receives the report.
-
To: Primary recipients
-
CC: Additional recipients copied on the report email
-
BCC: Recipients who receive the report without being visible to other recipients
By default, MSP users appear in the recipient list. You can also add external email addresses by entering the address and selecting Add.
NOTE Ensure that only intended recipients are included before saving the schedule.
Saving the schedule
After completing all required fields, select Save. The scheduled report appears in the Scheduled Reports list.
Managing scheduled reports
From the Scheduled Reports page, you can:
-
View existing schedules
-
Filter schedules by report, organization, schedule type, or frequency
-
Edit or delete a schedule as needed
Key takeaways
-
Scheduled reports automate report delivery without changing the underlying report
-
Schedule type and frequency control when a report is sent
-
Recipient settings control who receives the report.


