Advanced alert suppression
In this article, we will delve into the advanced suppression feature within SaaS Alerts, which enables users to manage critical alerts more effectively by applying specific exclusion criteria.
General steps for suppressing an alert
-
Expand Events in the side navigation menu.
-
Select either Critical or Medium.
-
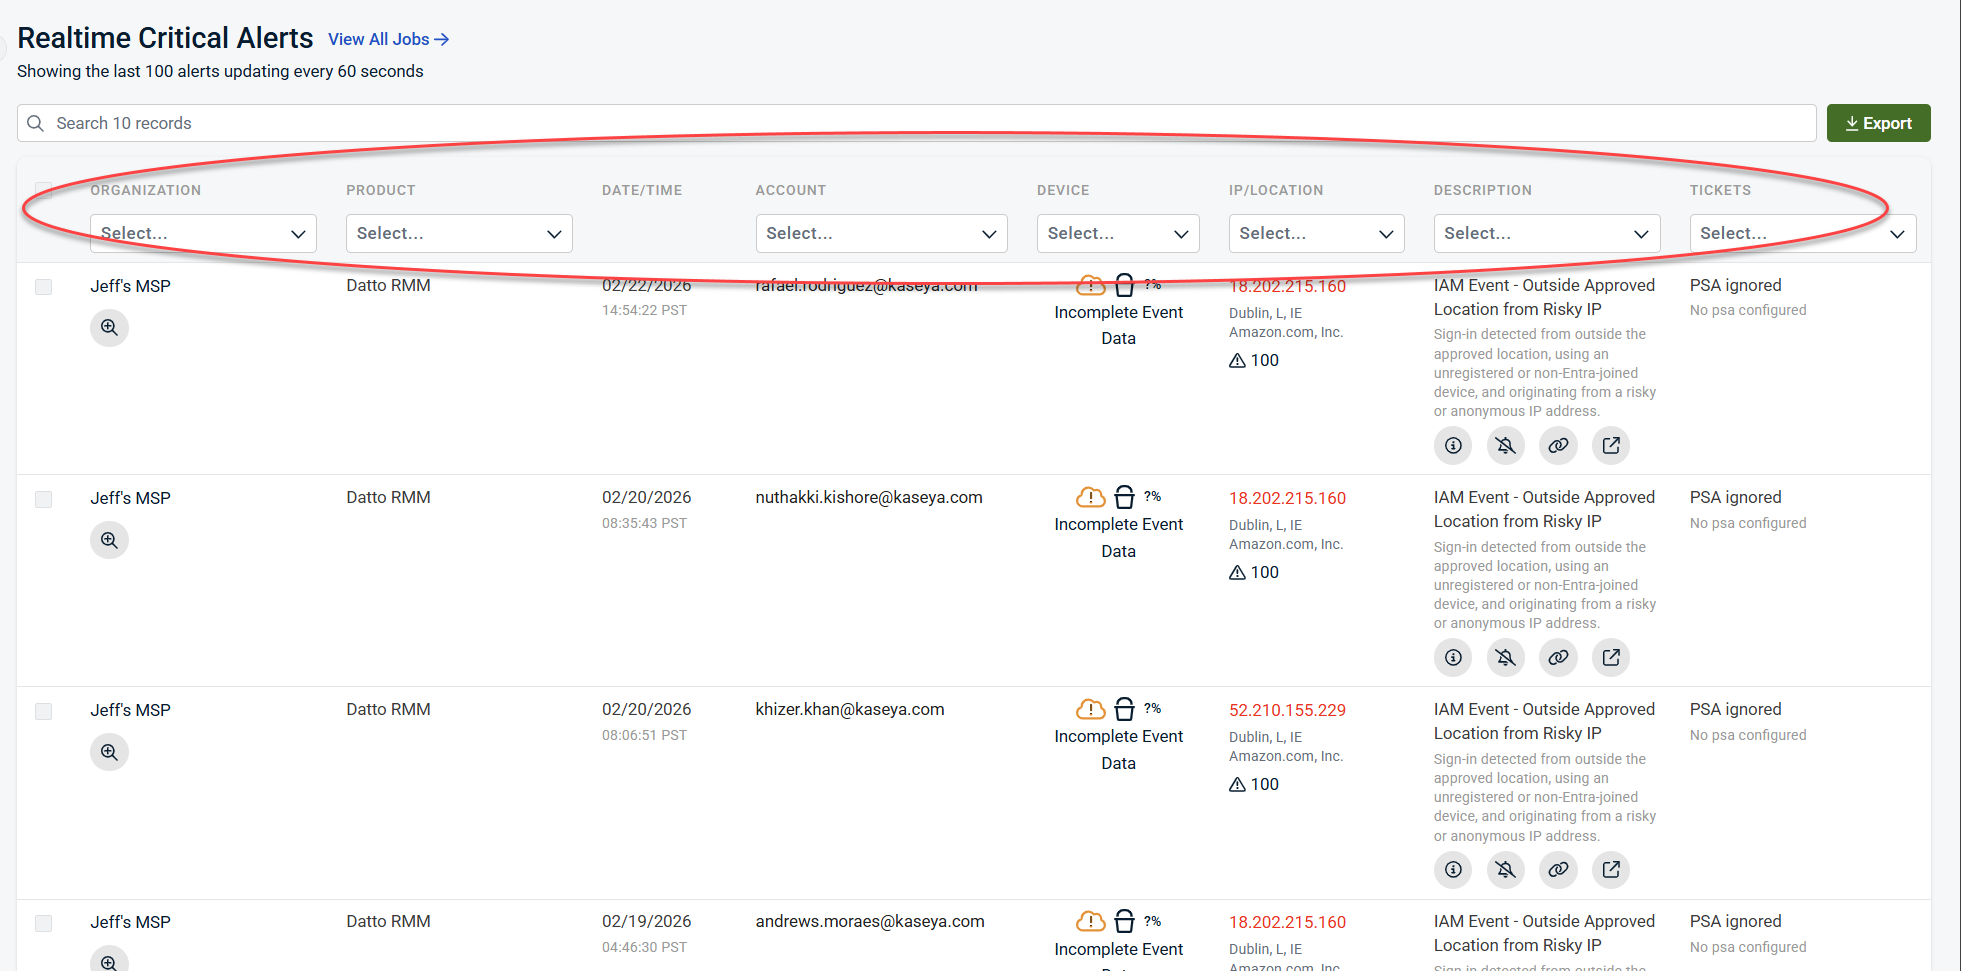
Identify the alert you wish to suppress by selecting the relevant organization, product, account, device, IP/location, and/or description, as well as associated tickets.
-
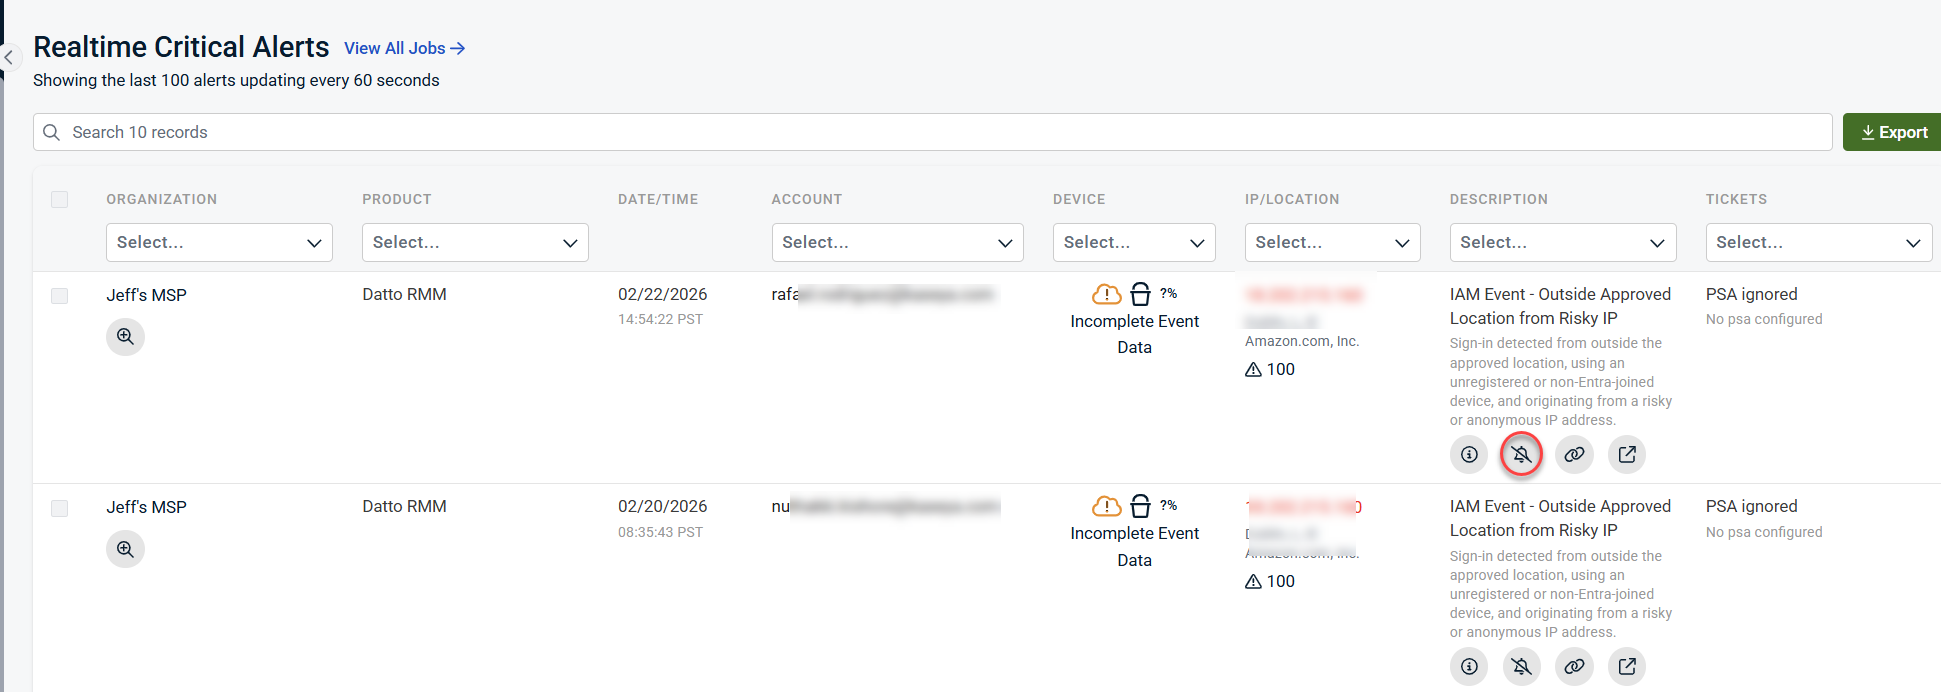
Click the suppression icon (represented by a bell with a line through it) to suppress the alert.
To provide a clear understanding of the necessary steps and subsequent actions following the click of the suppression icon, this article will examine this process within the context of a specific scenario.
Scenario Overview
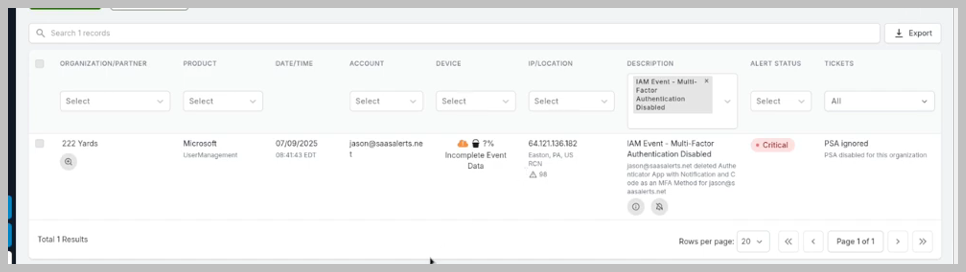
Consider a situation where a critical alert is triggered due to multi-factor authentication (MFA) being disabled. While this may be a significant concern in many contexts, there could be instances (e.g., when it involves a specific user, like Jason) where this alert is not deemed critical. Furthermore, we may have a response rule that activates based on this alert which we also aim to exclude.
Creating an advanced suppression rule for this scenario
The following are the steps to create an advanced suppression rule in this scenario:
-
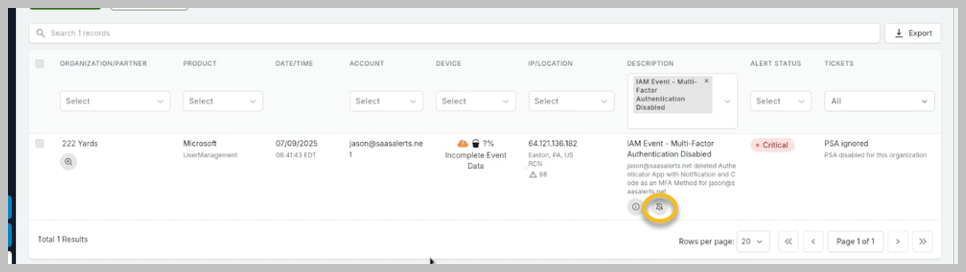
Click the suppression icon for the MFA event. This feature has been enhanced to provide more options for managing alerts effectively.
-
Specify whom the suppression rule will apply to. Options include the following:
-
Specific users (e.g.,Jason)
-
Multiple accounts within your organization
-
The entire organization
-
All clients within your environment
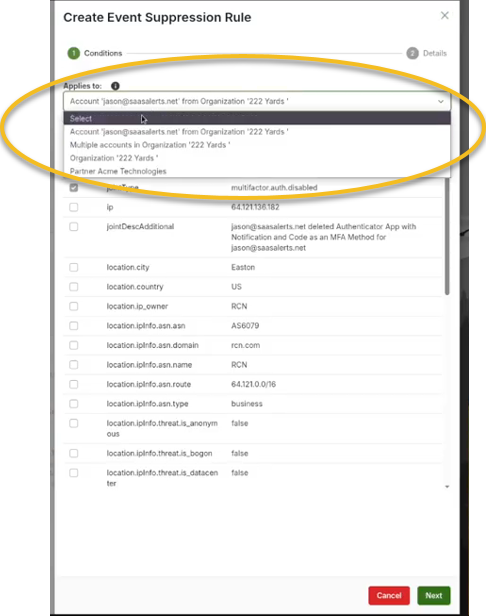
For the purpose of this example, we will focus on Jason.
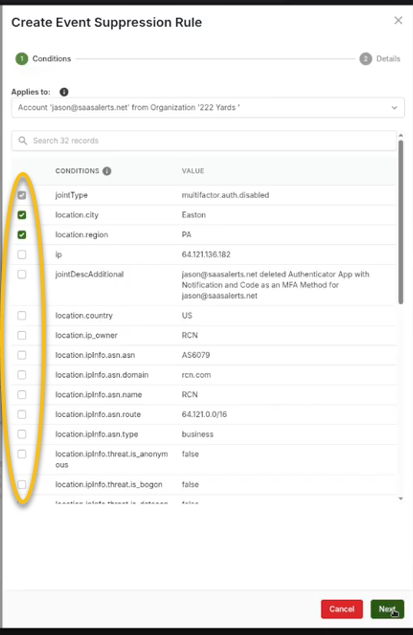
3. Define various criteria for the suppression rule. For instance, if you want to allow Jason to disable his MFA under certain conditions, you could specify the following:
-
A specific IP address from which MFA can be disabled.
-
Geographical criteria, such as permitting this action only if it originates from a designated city, like Easton, Pennsylvania.
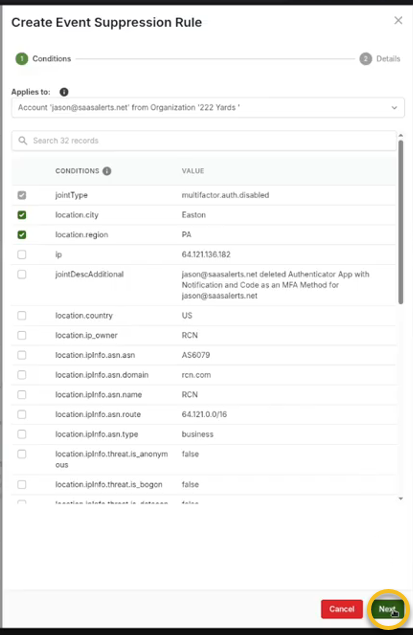
4. After defining the criteria for the suppression rule, click Next.
5. Determine if the suppression should be date-based. If so, specify a date range (e.g., from today to two weeks from now). If no date is specified, the suppression will remain indefinite.
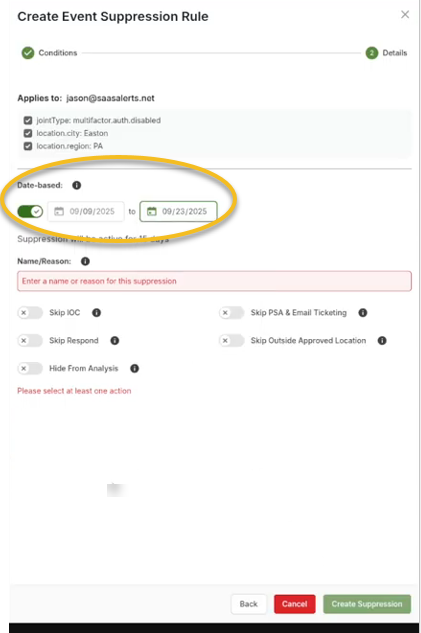
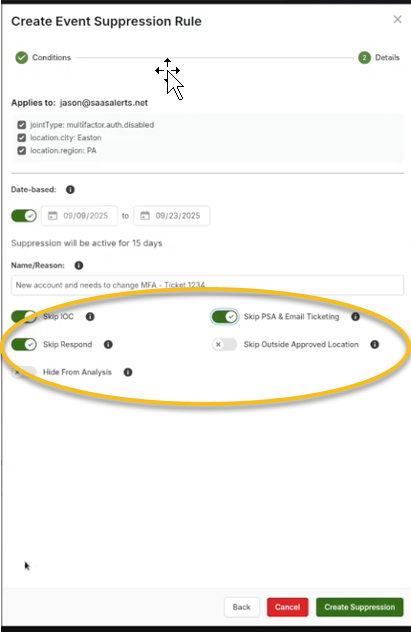
6. A reason for the suppression is required. You might note that the user is a new account that needs to change MFA settings. Additionally, you could include a support ticket number for reference, such as "Ticket 1234," to help track the request associated with this suppression.

7. Decide which events will be suppressed under this rule. For example:
-
If there is an operational condition (OC) that notifies you when MFA is disabled, you can choose to suppress this notification.
-
If there is a corresponding response rule, you can also opt to skip it.
-
Determine whether you still want this event to appear in your analysis reports.
8. Once all options and criteria are set, complete the setup by clicking Create Suppression.
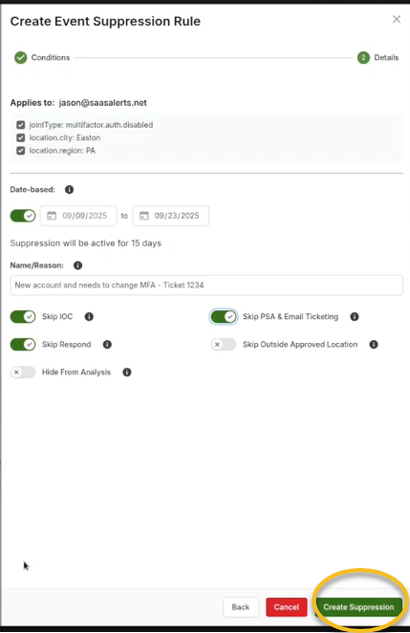
This will ensure that alerts related to Jason disabling MFA under the specified conditions do not trigger unnecessary notifications or actions.
9. Upon successful creation, you will see a confirmation message in the upper-right corner indicating that the alert has been suppressed.
Viewing suppressed alerts
To review all successfully suppressed alerts, follow these steps:
-
Click Events in the side navigation menu.
-
Select Suppression Rules.
-
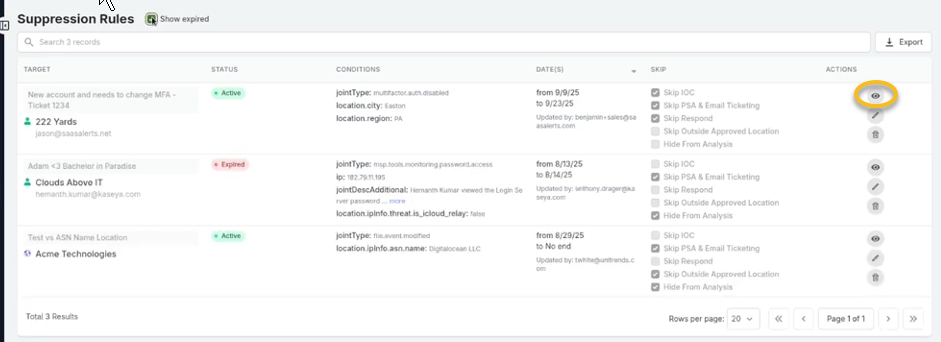
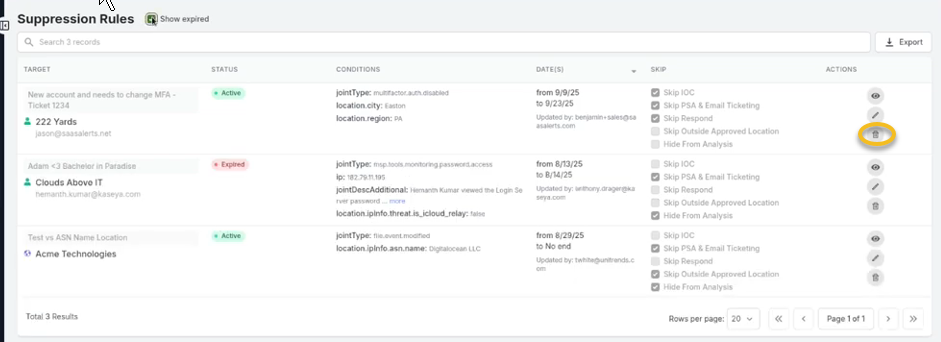
Here, you will find all successfully suppressed alerts, including the rule created for Jason in our example. It will indicate that there is a need for MFA changes for a new user, displaying the ticket number, the suppressed conditions, the date range set, the name of the person who implemented this, and the relevant items it applies to.
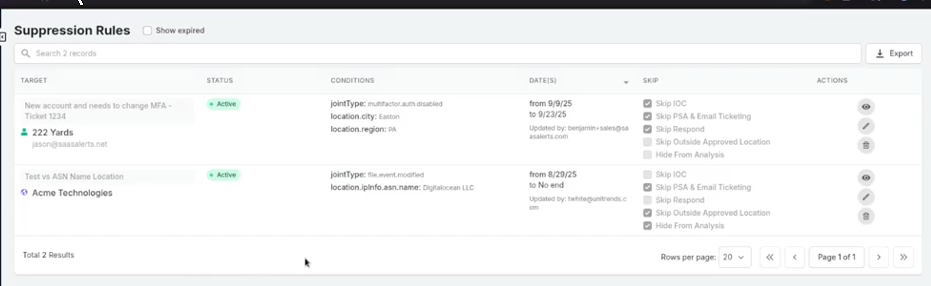
From this screen, you can perform the following actions:
-
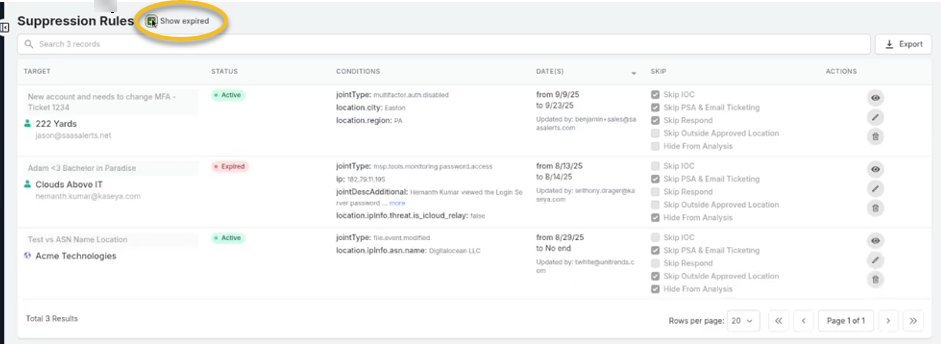
Select the Show expired checkbox at the top to view any suppression rules that were previously in our system but have since expired.
-
Click the eye icon to view any events that may have entered our system.
-
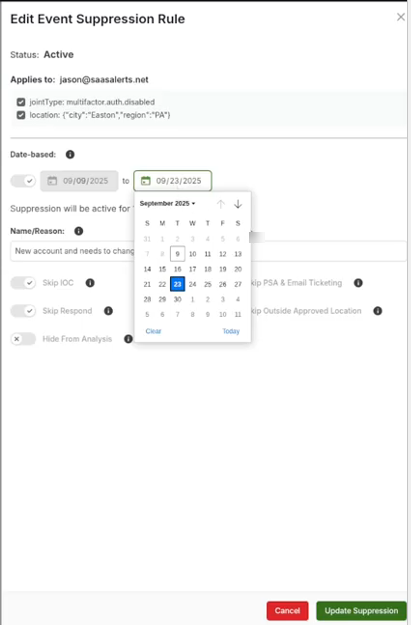
Edit the rule by clicking the pencil icon.
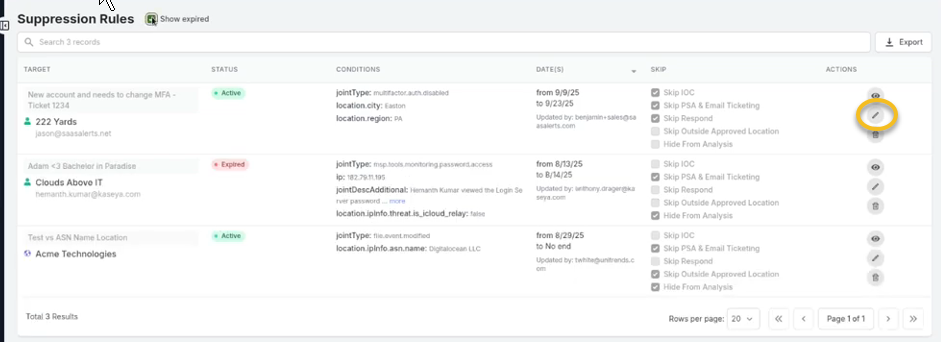
Although the modifications are limited, you can extend or shorten the date range.
-
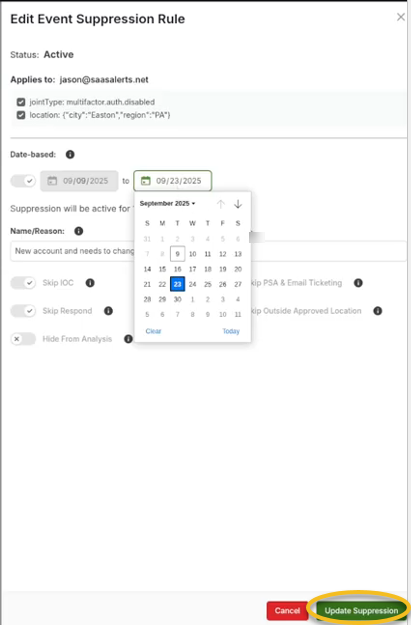
Click Update Suppression to save changes.
-
For significant modifications to these details, it may be necessary to recreate the entire event. You can do this by navigating back to the Event Monitoring section, finding your event, and suppressing it anew.
-
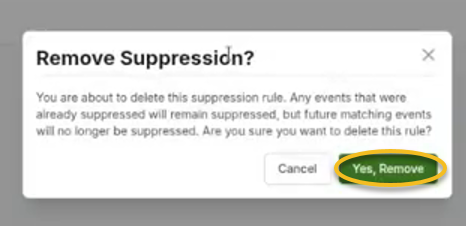
To remove a suppression rule entirely, click the trash can icon.
-
You will receive a confirmation message. Click Yes, remove to delete it.
-
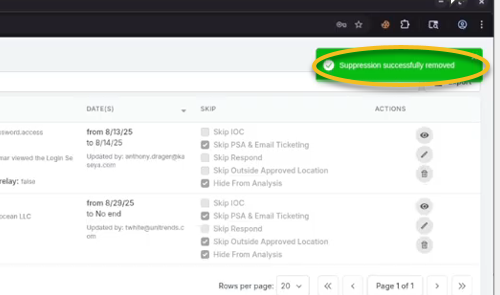
Following a successful deletion, a success message will confirm that it has been removed.
-
The suppressed alert will not be visible when selecting Show expired because it's no longer in existence. The Show expired checkbox is primarily intended to help users monitor rules that have executed successfully but are no longer active.
Advanced suppression in SaaS Alerts provides enhanced flexibility in managing critical notifications by allowing users to establish specific criteria. This functionality streamlines operations and mitigates alert fatigue, enabling your team to focus on the most significant security alerts.


